- Hub
- Sensor
- Controller
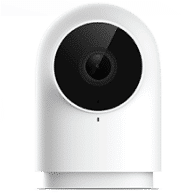
- Camera
- Camera G2H
- Camera G2H Pro
- Light
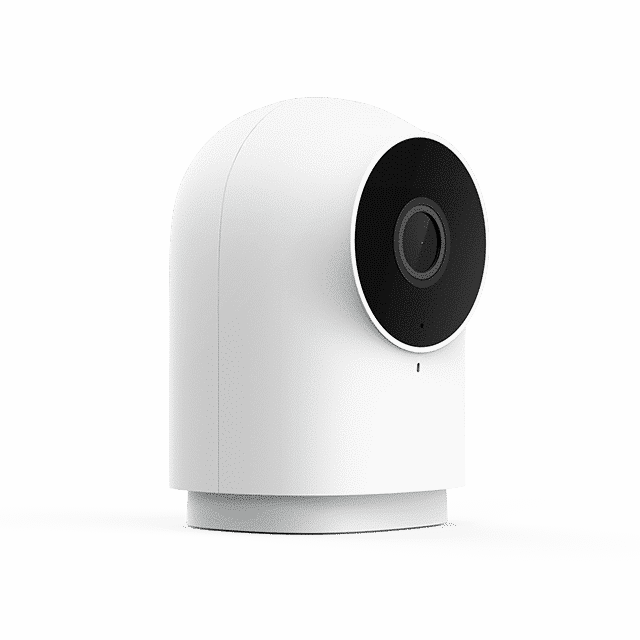
1.How does Aqara camera hub G2H Pro connect ZigBee end device, and how many end devices can be connected at most?
1. You can quickly press the button on the top of the camera three times to initiate ZigBee end device connection. G2H Pro support ZigBee 3.0 protocol and can connect 128 end devices at most.
2.How dose Aqara camera hub G2H Pro connect to internet?
2. You can scan the QR code generated by Aqara Home app to connect to internet. After the camera is powered on, please open the app and connect the device to 4GHz Wi-Fi, according to the voice prompt. Then, the QR code is generated, and you can scan the QR code through the G2H Pro lens for the network connection.
3.What kind of Wi-Fi can Aqara camera hub G2H Pro connect? Does it can connect to mixing frequency Wi-Fi?
3. It supports 2.4GHz IEEE902.11b/g/n Wi-Fi protocol. And it doesn’t support 5GHz Wi-Fi. When connecting the mixing frequency router, it is recommended to separate 2.4GHz and 5GHz Wi-Fi to avoid abnormal connection.
4.Why can’t camera hub G2H Pro connect to Wi-Fi?
4. Please check the distance between camera and router, and make sure the Wi-Fi signal is strong enough. If Wi-Fi connecting abnormally, please use Wi-Fi signal amplifier or mobile router to ensure that the device can receive Wi-Fi signals well. Please make sure connecting to 2.4GHz Wi-Fi. Please check if the Wi-Fi SSID or Wi-Fi PWD is correct.
5.How much capacity does Aqara camera hub G2H Pro needs to store one day’s video?
5. It will take at least 18GB to store one day’s video. Generally, the TF card with 512GB capacity is expected to be stored for 4 weeks, totaling 28 days.
6.When disconnecting to Wi-Fi, does Aqara camera hub G2H Pro can store the video into TF card?
6. Yes. However, you can’t view the video through Aqara Home app because of no internet.
7.What kind formats of TF card does Aqara camera hub G2H Pro supports? How much capacity does it supports?
7. It supports the TF card with CLASS 4 above and format of FAT32. The capacity is 512GB at most. However, We suggest you use the TF card with CLASS 10 above.
8.How many clients does Aqara camera hub G2H Pro can preview at the same time in a single camera?
8. At most 4 .
9.How Aqara camera hub G2H Pro install?
9. It supports magnetic suction and flat installation. You can use 3M glue in the accessories to paste the iron sheet on the non-magnetic material surface, or use fastening screws to fix the iron sheet on the non-magnetic material surface, and then fix the camera.
10.How many custom ringtones does camera hub G2H Pro can upload and is there a limit for maximum?
10. At most 5, maximum 5MB per ringtone.
How does Aqara camera hub G2H Pro connect ZigBee end device, and how many end devices can be connected at most?
You can quickly press the button on the top of the camera three times to initiate ZigBee end device connection. G2H Pro support ZigBee 3.0 protocol and can connect 128 end devices at most.
How dose Aqara camera hub G2H Pro connect to internet?
You can scan the QR code generated by Aqara Home app to connect to internet. After the camera is powered on, please open the app and connect the device to 4GHz Wi-Fi, according to the voice prompt. Then, the QR code is generated, and you can scan the QR code through the G2H Pro lens for the network connection.
What kind of Wi-Fi can Aqara camera hub G2H Pro connect? Does it can connect to mixing frequency Wi-Fi?
It supports 2.4GHz IEEE902.11b/g/n Wi-Fi protocol. And it doesn’t support 5GHz Wi-Fi. When connecting the mixing frequency router, it is recommended to separate 2.4GHz and 5GHz Wi-Fi to avoid abnormal connection.
Why can’t camera hub G2H Pro connect to Wi-Fi?
Please check the distance between camera and router, and make sure the Wi-Fi signal is strong enough. If Wi-Fi connecting abnormally, please use Wi-Fi signal amplifier or mobile router to ensure that the device can receive Wi-Fi signals well. Please make sure connecting to 2.4GHz Wi-Fi. Please check if the Wi-Fi SSID or Wi-Fi PWD is correct.
How much capacity does Aqara camera hub G2H Pro needs to store one day’s video?
It will take at least 18GB to store one day’s video. Generally, the TF card with 512GB capacity is expected to be stored for 4 weeks, totaling 28 days.
When disconnecting to Wi-Fi, does Aqara camera hub G2H Pro can store the video into TF card?
Yes. However, you can’t view the video through Aqara Home app because of no internet.
What kind formats of TF card does Aqara camera hub G2H Pro supports? How much capacity does it supports?
It supports the TF card with CLASS 4 above and format of FAT32. The capacity is 512GB at most. However, We suggest you use the TF card with CLASS 10 above.
How many clients does Aqara camera hub G2H Pro can preview at the same time in a single camera?
At most 4 .
How Aqara camera hub G2H Pro install?
It supports magnetic suction and flat installation. You can use 3M glue in the accessories to paste the iron sheet on the non-magnetic material surface, or use fastening screws to fix the iron sheet on the non-magnetic material surface, and then fix the camera.
How many custom ringtones does camera hub G2H Pro can upload and is there a limit for maximum?
At most 5, maximum 5MB per ringtone.
- Hub
- Sensor
- Controller
- Camera
- Light


Select ProductSensor Controller Camera Door Lock Light
- Cube T1 Pro
- Smart Wall Switch H1 Triple Rocker (No Neutral)
- Smart Wall Switch H1 Triple Rocker (With Neutral)
- Smart Pet Feeder C1
- Radiator Thermostat E1
- Curtain Driver E1 (Track Version)
- Curtain Driver E1 (Rod Version)
- Roller Shade Driver E1
- Wireless Remote Switch H1
- Smart Wall Switch H1 Double Rocker (No Neutral)
- Smart Roller Shade Controller
Click any Menu